I decided I needed some wall pattern down in the ol' mom cave. But I didn't want to spend tons of cash on a wallpaper. I didn't even want to spend $50 on a stencil. Still, I wanted something modern, yet whimsical. Finally I decided to make my own pattern with painters tape.
Stick with me here, it's going to be a long one.
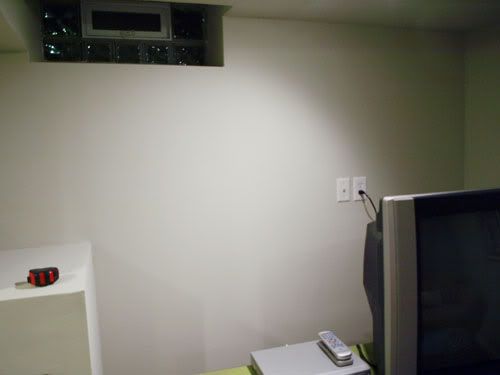
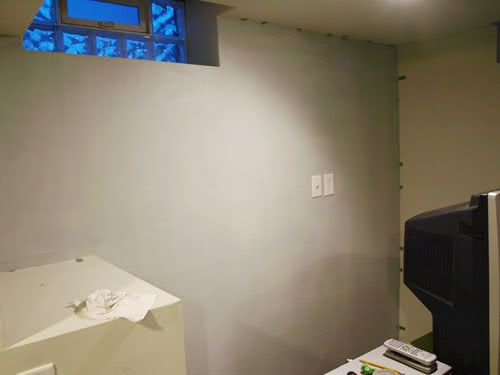
This is what my wall looked like before. A blank slate.
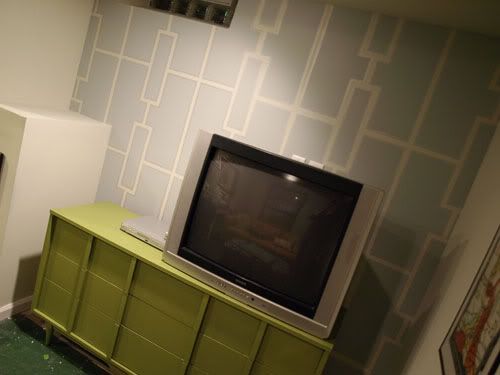
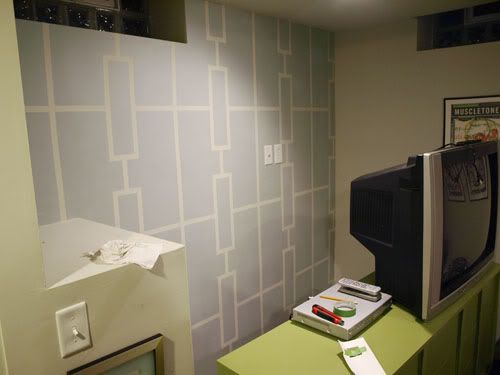
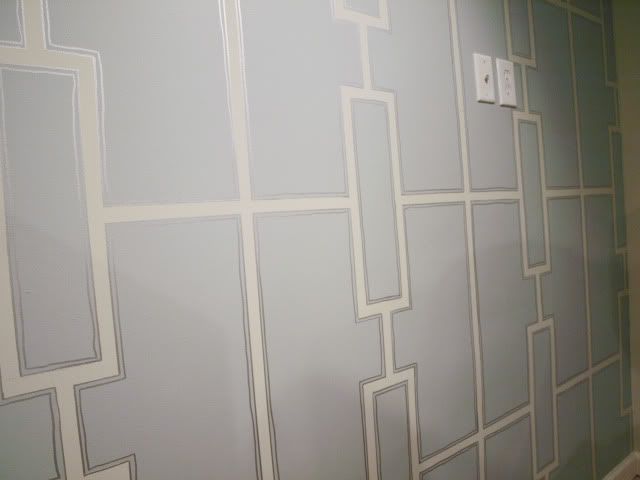
This is what it looks like now.
What I did:
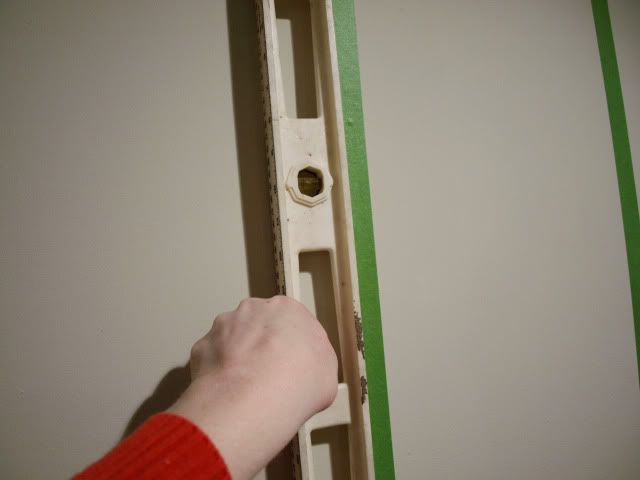
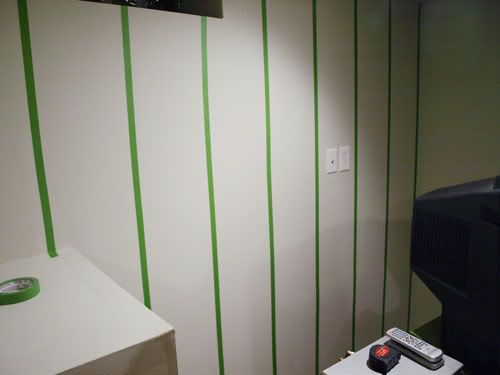
First I measured the wall to find the center of the room. Starting at the center (actually 1/2 inch left of center, since my tape is 1 inch wide), I used a large level to mark 12 inch vertical stripes across the wall. I marked the 12 inch stripes lightly with a pencil, then I put Frog Brand painters tape along the pencil lines I drew (PS, that Frog tape is AWESOME. It seals very well with no bleeding).
Marking 12 inch vertical lines with a level and a pencil.
Wall taped at 12" intervals.
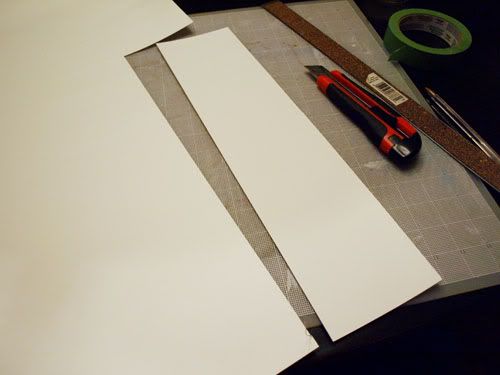
Next I made a rectangle template out of cheap posterboard. My template is 4" x 16". I chose 4" x 16" because my painters tape is 1 inch wide and I wanted the final size to be 6" x 18".
4" x 16" template
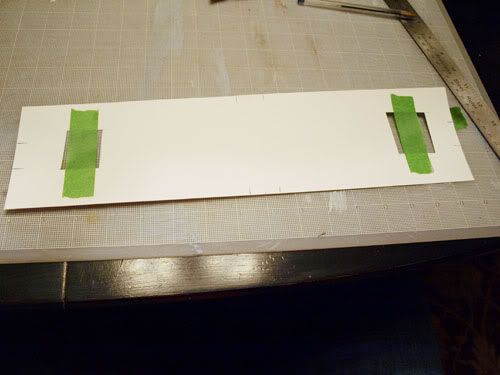
I marked guide lines at the top and bottom, so I'd know where the tape would line up. I also cut out a random rectangle area on the top and bottom and put painters tape across it. This would hold my template to the wall.
Cutouts with painters tape applied will hold stencil to the wall.
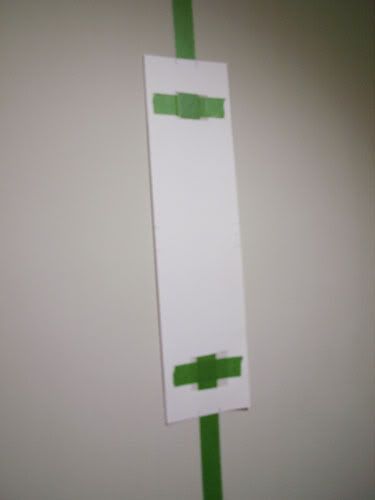
I stuck the template on my wall and after checking it was straight with a small hand level, I taped around it.
Template stuck to wall.
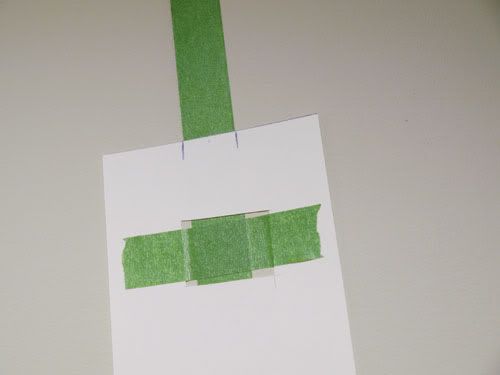
Guides ensure template is centered. I also checked to make sure it was vertical with a small hand level.
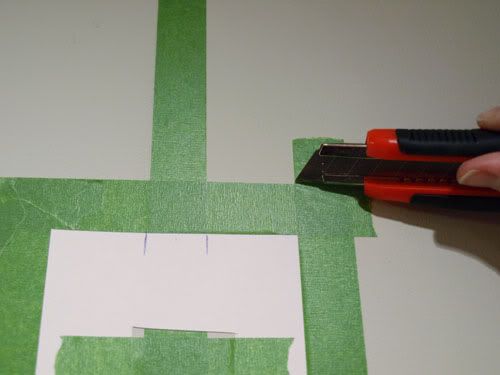
The easiest way to make straight corners was to overlap the tape, then score lightly with a knife. Remove excess tape.
Tape around template, overlapping at corners. Then score lightly and remove excess.
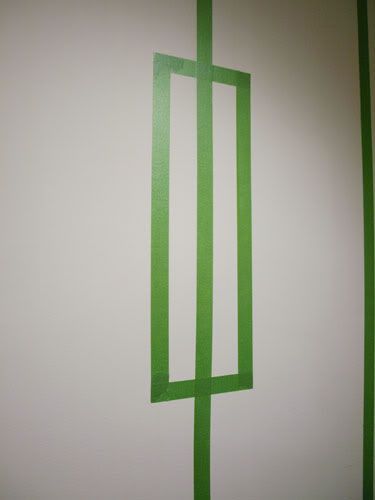
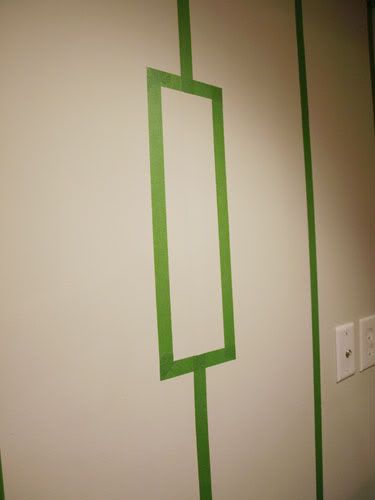
Next I removed the template and scored lightly again to remove the tape inside the rectangle.
Remove template.
Score lightly to remove tape inside rectangle area.
First one done!
First row done!
I made rectangles on every other row, checking with a level to make sure they were even.
Lastly I connected the rectangles with horizontal tape lines. I made these the same way as I did the vertical ones. I measured where they needed to go, then used a large level to draw light pencil lines. Then I taped next to the pencil lines.
Connect rectangles with horizontal tape lines the same way as vertical tape lines were made. Mark a starting point. Draw a line with a pencil and a level. Tape along the line.
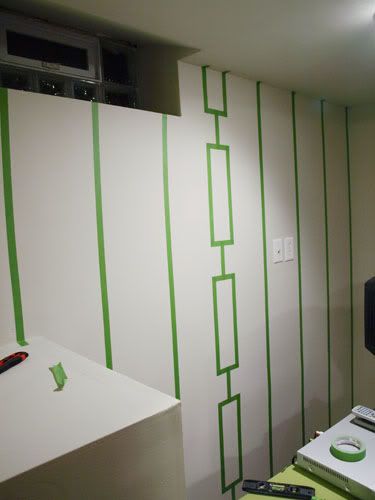
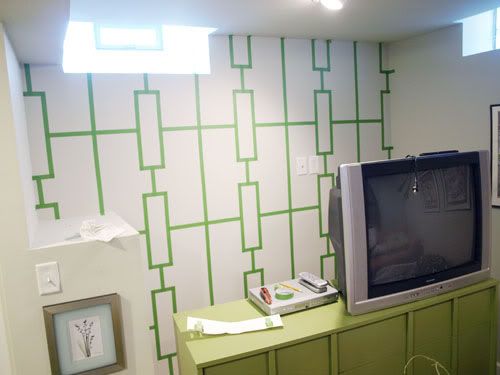
Tape is finished!
Once the tape was done I painted over top everything with a coordinating wall color. I did this exactly the same as if the tape weren't there. First I cut in, then I rolled. Waited 2 hours for everything to dry. Then I cut in again and rolled again.
Here is everything painted.
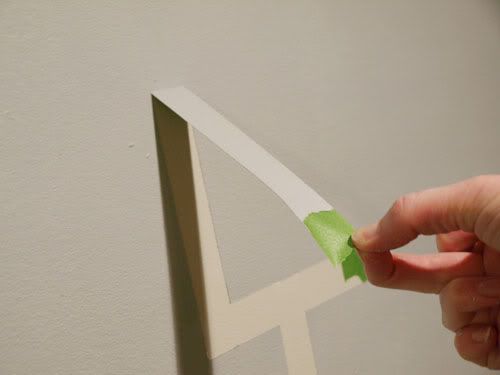
While the second coat was still damp, I removed the tape.
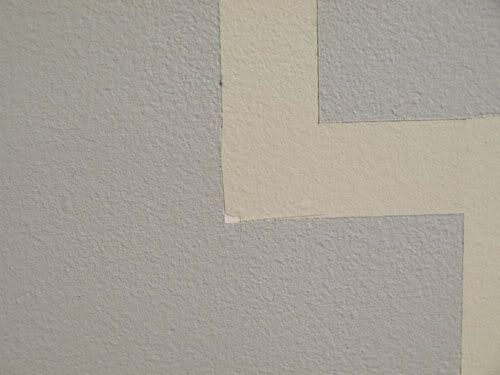
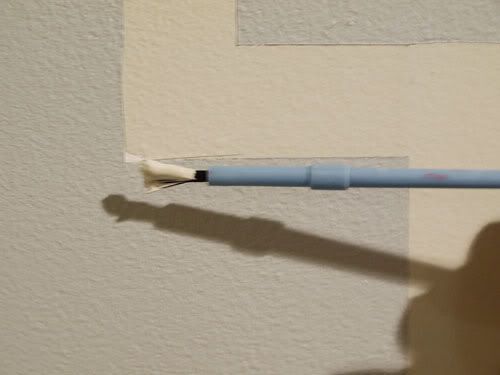
There were a couple of spots that I scored too heavily, and a bit of the undercoat of paint chipped off.
A cheap plastic children's watercolor brush (or q-tip) dipped in some paint took care of that in literally a couple minutes.
This is where I originally intended to stop.
I thought it looked nice. But then the more I looked at it, the more I thought it needed... something. It's a perfectly nice geometric. But this is the mom cave. The mom cave, man! It's in our unfinished basement. No one will see this space, unless they're coming down to do laundry. It sounds selfish to say this, but it's really all for me. No one else cares or will probably ever see it (except you, dear internets), so let's push it to a level beyond "safe" to extraordinary.
This is supposed to be an inspiring space.
A creative space.
A fun space.
A whimsical space.
A witty space.
All the attributes I strive to be, frankly.
This is where I told my perfectionist self to go to lunch or take a nap (or have a drink), while the funky side figured this thing out.
I took a silver paint marker (by Sharpie) and freehand outlined the entire design. Was it perfect? Oh no. Quite imperfect. But that's what makes it fun! It's what gives the pattern it's whimsy.
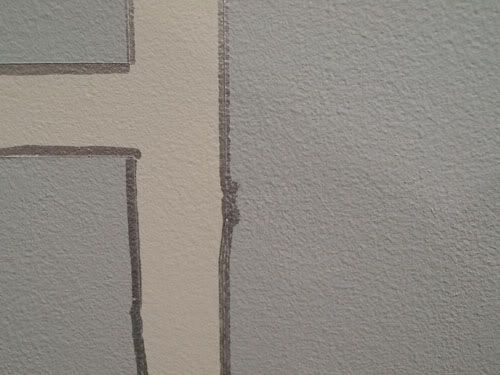
This is oil based paint in marker, and there were a few times I royally messed up.
Oh no! What shall I do?
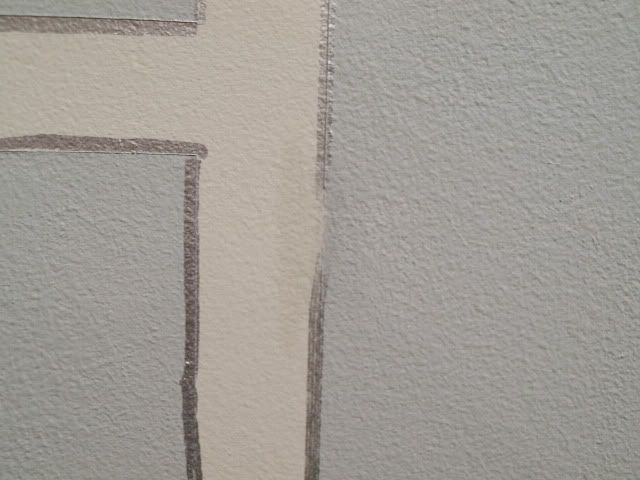
A q-tip dipped in paint thinner took care of all my goofs.
Hooray!
The final reveal!
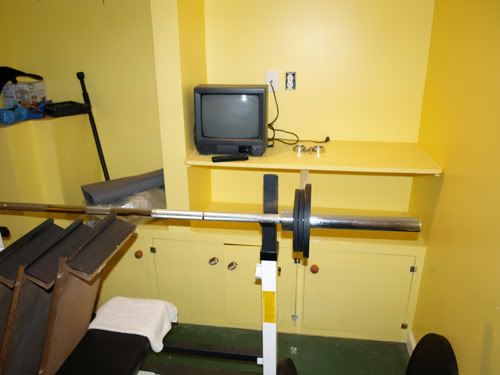
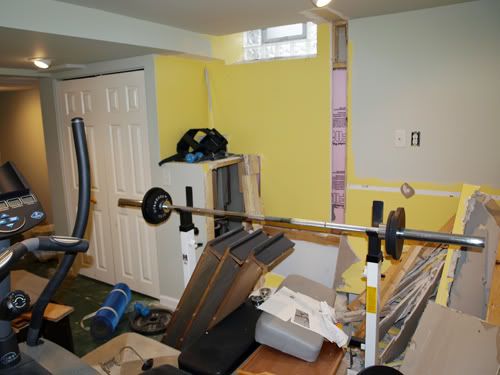
Before:
After:
Just for fun, here's a progression of the same wall.
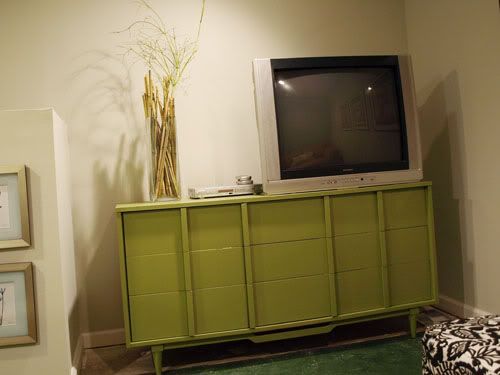
Interested in what I did to that green dresser? Find out about that project here.
Linking to some of these great parties.
Now go make something!
This project was featured on Addicted 2 Decorating and Chic on a Shoestring.

Looks awesome! Great idea to outline with the Sharpie it definitely added a punch to it! Can't wait to see what you do next!
ReplyDeleteLove this tutorial. It looks great. I did a similar pattern on a rug I painted in my bedroom. I'm going to save this tutorial.
ReplyDeleteWow that is awesome! It looks great, all your hard work really shows. Thanks for the tutorial, makes me want to make a stencil of my own!
ReplyDeletethis is the coolest idea, turned out great! i have a party going on if you would like to share this, i would love it if you did.
ReplyDeletehttp://typeadecorating.blogspot.com/2011/03/anything-goes-party-8.html
That is awesome!! Tons of work, but it sure payed off!!! Great job!
ReplyDeleteGreat idea. Much easier to change than wallpaper too.
ReplyDeleteThis is really pretty! I like that you outlined it with sharpie - it gave it that extra oomph. Thanks for the tips on scoring around the painters tape. I will keep that in mind if I ever dare try something hard like this.
ReplyDeletewoah. this is amazing. great job! I love it.
ReplyDeletemegan
craftycpa.blogspot.com
Omgosh!!
ReplyDeleteAmazing
I'm so following you!!
I absolutely LOVE your wall!! Very well done.
ReplyDeleteLove this. Looks great! Awesome idea to use the frog tape and make your own stencil. I am the same way, don't want to pay for the stencil either. Just what I needed to see as an idea for my own cave. Thanks for the inspiration.
ReplyDelete~Pam
pamspaintparlor.typepad.com
Oooh what a fun idea! I'd love to try something like this in my bathroom! Such talent. I'd love to have you link this to my VIP party today @ http://designergarden.blogspot.com/2011/03/vip-party-7.html
ReplyDeleteThat is so gorgeous! Thanks for sharing =D
ReplyDeleteLove the modern twist in your Mom Cave!
ReplyDeleteGreat job, and how creative. Also love the lime green TV stand, great color with the walls.
ReplyDeleteMost impressive!! What a lot of patience and what a brilliant result!I love the colours and the tutorial is just great. Now I just need YOUR patience, hahaha!!
ReplyDeleteSeriously, I think it looks fab.
Awesome job! That's looks great!
ReplyDeleteLove this idea! It turned out awesome. I featured your wall on my blog today, please feel free to swing by and check it out. Happy Sunday!
ReplyDeleteJen
http://jen-simplyliving.blogspot.com/2011/03/stuff-i-like-sunday-9.html
That's excellent!! Love the way the wall looks with the green console table!
ReplyDeleteoh my goodness!! I LOVE it! how clever. And love the green console!
ReplyDeleteIt's beautiful!!! Wow, I love it! Sheesh I would love to not be renting; I'd do this today!!
ReplyDeleteThe blog is good enough I again n again read this.new songs
ReplyDeleteWow the painters tape wall painting idea is looking very nice; I really find this blog great.
ReplyDeleteCertaPro Painters of Loudoun