It was a snowball. The roof needed to be repaired before the bad weather. Then the ceiling needed to be redone. Which led to the walls being repainted... etc. Full overhaul.
I'm remembering the phrase "It gets worse before it gets better". I'm going to get this mother done, and get it done as quickly as possible!
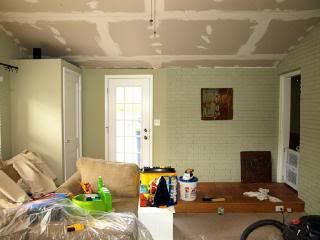
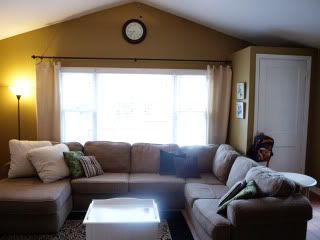
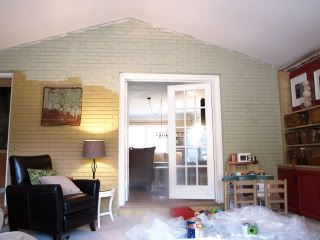
About the room. Our home was built in the 1920s, but this room was added on later. We think it was originally a sun room. There are some clues--the trim and window styles and some paneling behind the drywall-- that point to it probably being converted into a regular family room in the 1970s. When this room was added, they kept the adjoining walls. So one full wall, and part of another wall are brick. It has been painted, but they were originally exterior walls. The same brick that is on the exterior of our home. This room also includes the original french doors, which is making it a very convenient room to renovate (well, as convenient as it can be). I just close it off and keep the kids out!
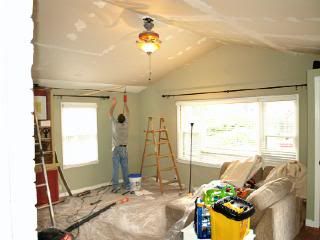
EEK! I can't believe I'm showing you this! It's bad.
Very bad.
We started here.
Mr. RBR and I put up all that drywall on the ceilings by ourselves. Without a lift. Or stilts. Just me, Mr. RBR, and two ladders. The ceiling is 16 ft at the peak! It helps that we are tall. lol!
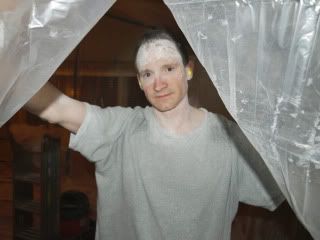
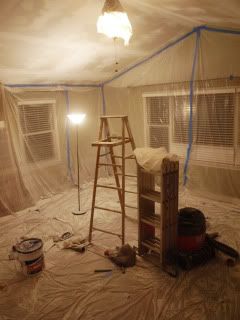
And then, ohmygosh, the drywall joints needed to be sanded. These are like scenes from ET or Back To The Future.
Or maybe something more ominous.
Kidding. Poor Mr. RBR. I'm so mean.
That would be drywall dust all over his face. He had on eye protection and a face mask to protect his eyes, nose and mouth. And earplugs to keep the dust out of his ears. My hardworking guy. :)
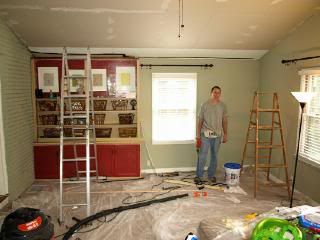
Basically he wrapped the whole room in plastic drop cloths and went to town.
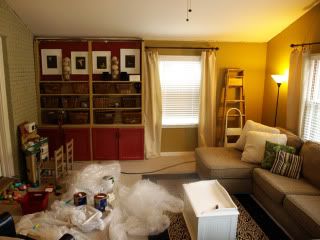
From there it has gotten a little better. Mr. RBR cleaned up the mess, then I started to paint. The ceiling and then the walls. The walls went from an old and dirty sage green to a medium brown, with a slight olive undertone. It's the same color that is in our dining room (same color as the first picture in the Why I HATE Markers post).
There's really not much of a trick to painting brick. It involves lots of tedious jamming of your brush into the crevices. Not much fun, I discovered.
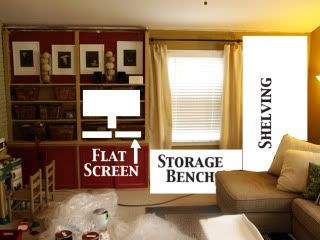
Overall, lots of progress, but lots yet to do. Probably the biggest job left is sprucing up that built in cabinet. I don't know how old it is, but it's apparent it's had lots of abuse. I think I'm going to sand and paint it and back it with bead board. Maybe paint the bead board an accent color? And I'd also like to expand it to cover the whole wall. I'd like a storage bench under the window, and additional shelving all the way to the next wall.
I'd also like to rip out two more shelves and stalk the Black Friday deals coming up for our first ever flat screen. We'll see how that goes.
To progress!


It's come along really well! Can't wait to see the finished product!
ReplyDeleteHave definitely bookmarked this Website-very inspirational- like you blog ! Thanks for sharing your project with us/ me – looks fantastic. Click here
ReplyDelete