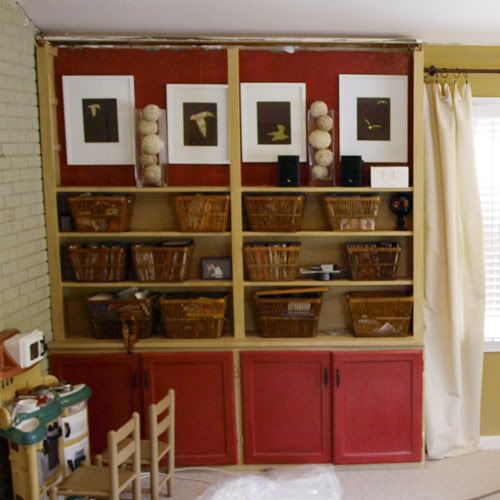
Before.
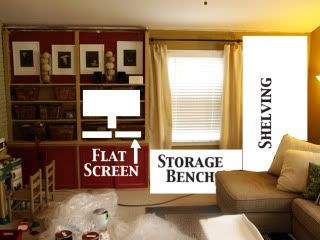
We need more storage too, so the plan was to expand it across the entire wall, like this.
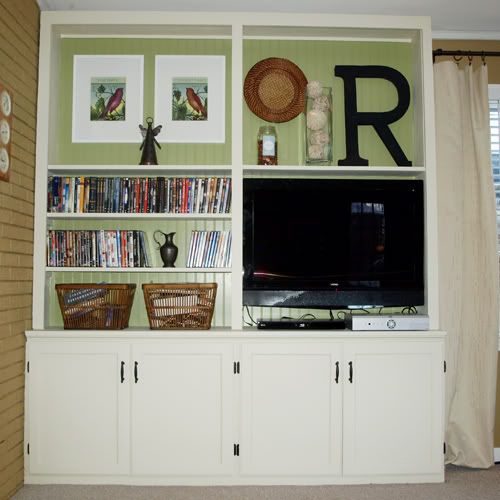
Unfortunately the plans to expand are going to be phase II. But we were able to spruce up the cabinet and install the flat screen. This is what it looks like now.
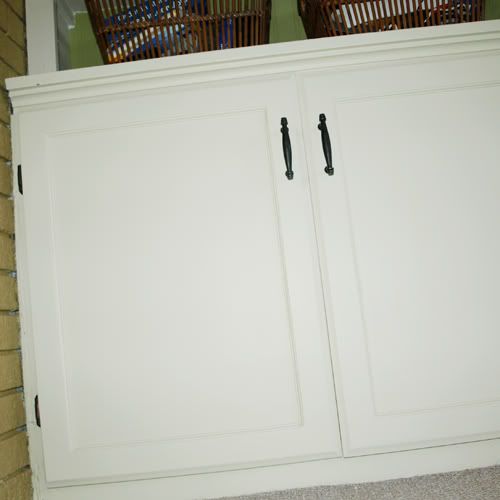
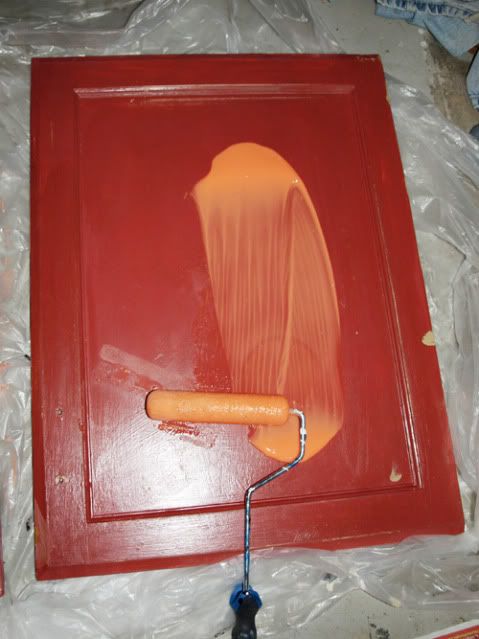
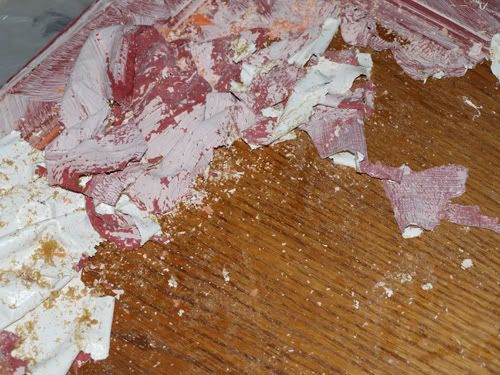
These doors are a story in themselves. They were so neglected, I decided to strip them. I don't think I'll be doing that again any time soon. It was my first time stripping and will probably be my last. Mr RBR had to rescue me and give them a good sanding, because I was SO SICK of picking at them, trying to get all the dang paint off.
I have to say, the doors do look fantastic. It was a lot of work, but the results are amazing.
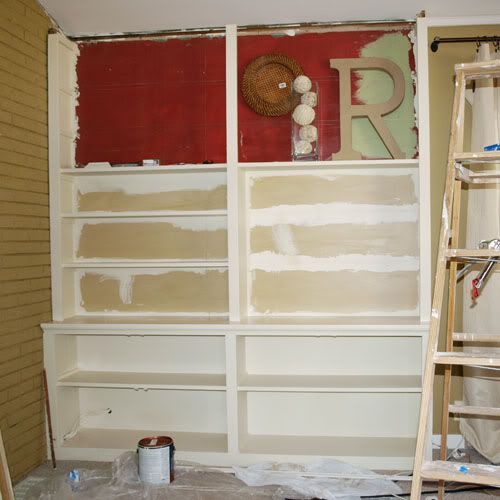
Here is the built-in mid process. We had to rip the top off to get new drywall on the ceiling.
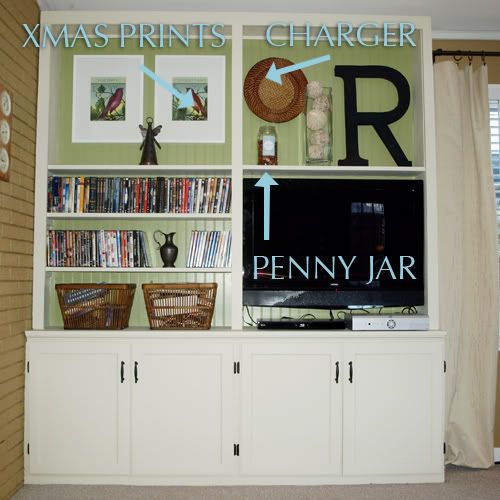
We ended up taking out some shelves to make way for the flat screen. Mr. RBR also lined the back of the cabinet with beadboard, which I painted green. I couldn't resist trying out the vingettes, although it was a little (ok, a lot) premature.
You can also find a number of my projects here on the shelves!
The Christmas prints are here. The Penny Jar is here and the rattan charger was a thrift find I found on this shopping trip. The large R (for Room by Room of course, wink wink) is cardboard. I found it at Joann's. I actually sprayed it with chalk board paint (because I just happened to have some on hand), so I'm thinking about drawing a fun design on it. Eh, why not? I can always change it!
The rest of the shelves hold DVDs and a couple of baskets (bought years ago at Target) to hold the miscellaneous junk that just seems to accumulate spontaneously.
Before I sign off, one more before and after.
Before.
After.
Linking to some of these parties.
This project was featured on House of Grace and Blue Cricket Design.


You did a great job redoing that built in. I know what a pain the stripping can be. I'm sure it looks much better then slopping on yet another coat of paint!
ReplyDeletelooks great! love the beadboard and how you painted it a different color.
ReplyDeleteWhat a great redo! The unit looks terrific, & the white with the green is one of my favorite combos. Actually, white with just about any contrast color is my fav. I'm a new follower. I want to wish you good luck on your adoption.
ReplyDeleteCAS
Great update! Huge difference. Nice!
ReplyDeleteThis is so amazing! Thanks for linking! I'll be featuring this project tomorrow on BCD!
ReplyDeleteThat is an amazing transformation. I like the bead board in the back.
ReplyDeleteOH! I think this took my breath away! We have painted built ins and right now they are a dark chocolate color, Ive been wanting to strip them & paint them white for some time now but cant find the motivation to do it, but you have motivated me! I also have light creme color drapes and the same sand color painting! Now I know it will look fabulus when Im finished! Thanks :)
ReplyDeleteThe Petunia
www(dot)petuniasescape(dot)blogspot(dot)com