Pages

Thursday, May 5, 2011

How does your garden grow?

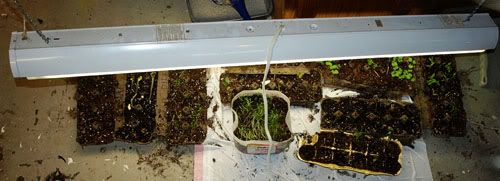
A couple weeks ago I planted some seeds with the kids.

Photobucket


Photobucket

Find the original post here.

And I thought I'd update you on the progress!

After planting the seeds in a mixture of potting soil and "starting mix" (just a bag purchased at the store) I put them under a florescent "garage light" in the basement. Mr. RBR claims you can just get these at a hardware store. It's a florescent light, but it just plugs in. No wiring.

I used twine to lower the light until it was only several inches above the seeds. Then I made sure the soil stayed damp by watering it every 2-3 days.

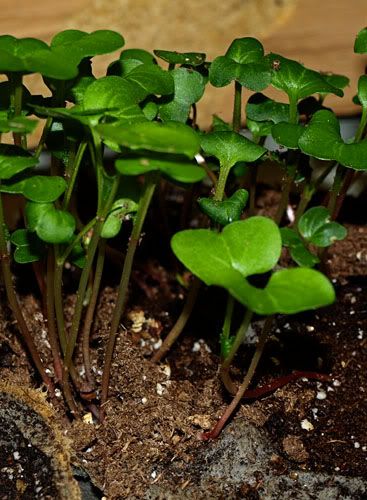
A couple weeks later we have sprouts!

Photobucket

Photobucket
Radishes. I think.

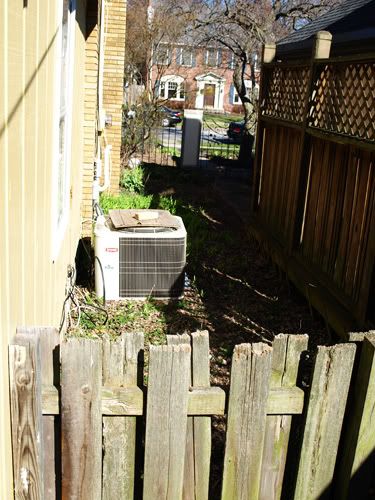
It will be a few weeks until the threat of frost starts to decline, but unfortunately my side yard (where I plan to plant my little seedlings) still looks like this!

Photobucket

Lots of work to do before it's ready. Any volunteers?

Wednesday, May 4, 2011

Special Delivery

If you've been reading the Room By Room blog, you might remember I started vermicomposting.

And if you're new here you're asking yourself, "What the heck is vermicomposting?"

Vermicomposting, is, in short, creating a little ecosystem in your home where worms eat your garbage. And it's very, very, very, very cool.

You heard me.

Photobucket

If you'd like to know how to make your own vermicomposting bin, check out this post.

Because I am an impatient sort I originally went to a bait shop and bought...

wait for it...

72 worms.

72.

72 worms ain't gonna do nuthin'. The point of vermicomposting is to have a whole BUNCH of worms so that they eat up your trash right away. Like in a day or two. 1000 red wiggler worms = approximately 1 pound in weight. And red wiggler worms will eat up to half their body weight every single day. So 1 pound of worms will eat 1/2 pound of trash every day. Get it?

I needed more worms.

So I went to the website Uncle Jim's Worm Farm. On the site I noticed I could buy 1000 worms for $30 (including shipping), or 2000 worms for $40 (free shipping). I went with the 2000 worm (approximately 2 pounds of worms) option.

I thought this was interesting. The worms only ship on Mondays, so they don't get stuck in the post office over the weekend. I would have NEVER thought about that! Poor wormies. Don't want them to get stuck in the post office over the weekend!

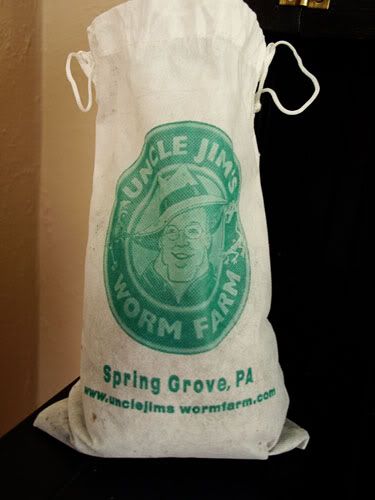
Well today I got my worm shipment. It arrived like this.

Photobucket

Well, this bag was in a little square box.

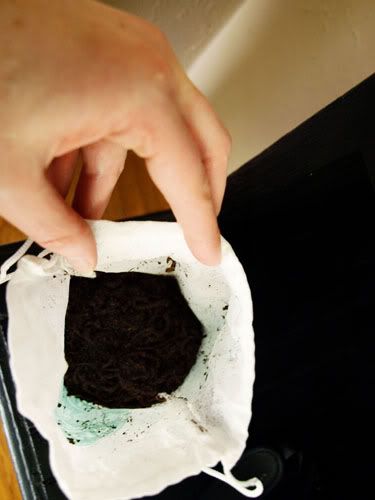
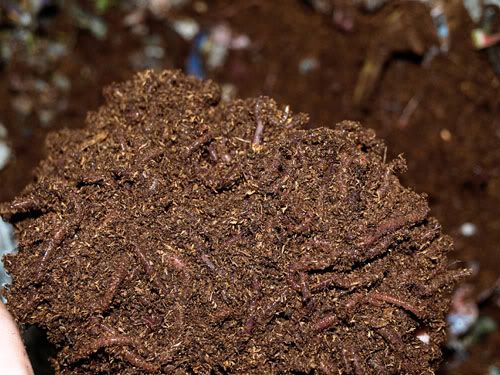
And this is what it looked like inside the bag.

Photobucket

It is completely FILLED with worms. And it looks like a little peat/dirt mixed in.

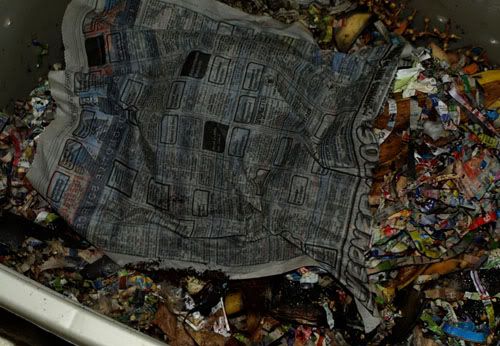
They came with directions that said to put them in their habitat right away. Just set them in a pile on the top, covered with a sheet of damp newspaper and they'll disperse naturally within the next 24-48 hours.

So that's what I did.

Photobucket

I'm trying to resist the urge to check up on them. Don't want to be a helicopter parent, er, vermicompost-ologist, er something.

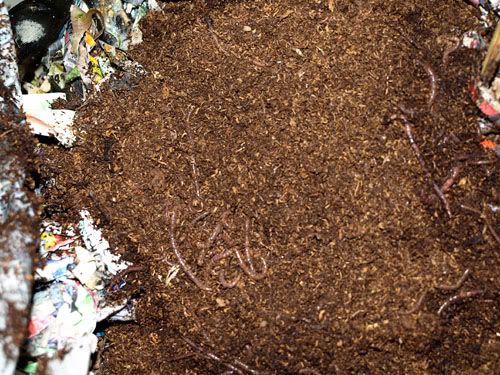
Oh, what the heck.

Photobucket

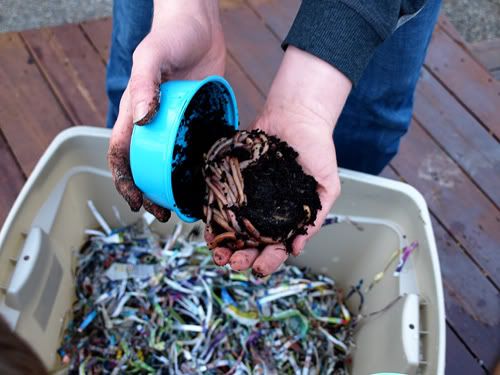
I even picked them up! Ewwww!

Photobucket

OK, now I'll behave and leave them alone.

So, did you make your vermicompost bin yet? If you do, pretty, pretty please tell me about it!

Monday, May 2, 2011

DIY painting

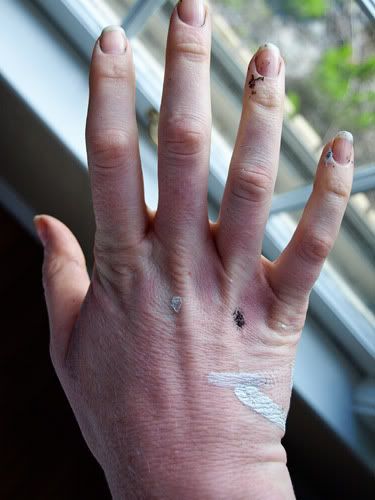
Is it Monday already? I spent the whole weekend with my hands looking like this.

Photobucket

I wish it looked like more progress had been made. Don't you hate that? Work your buns off all weekend and it doesn't look like much has changed? It's like, I remember painting, and doing all this stuff, why does it all look the same? Blah.

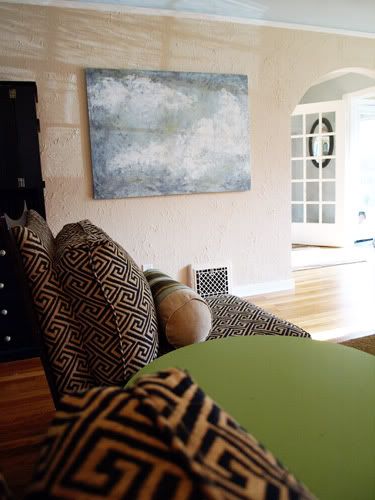
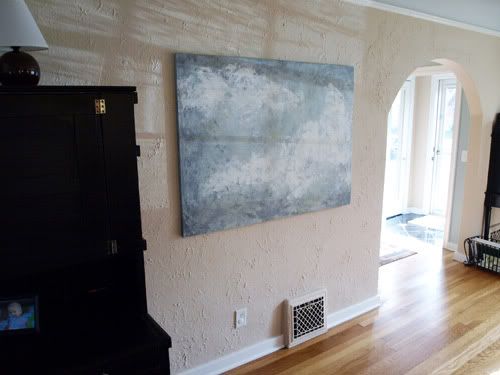
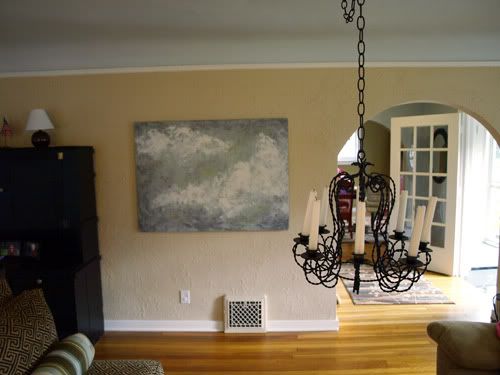
One thing I did finish, however, is a painting for the living room.

Photobucket

Some day I'll get around to showing you the whole room. The only reason I haven't done it yet is because it's usually too embarrassingly messy to photograph. Some day, SOME DAY, however I will keep it clean enough for 2 seconds to make it photograph worthy.

Some day. Some day?

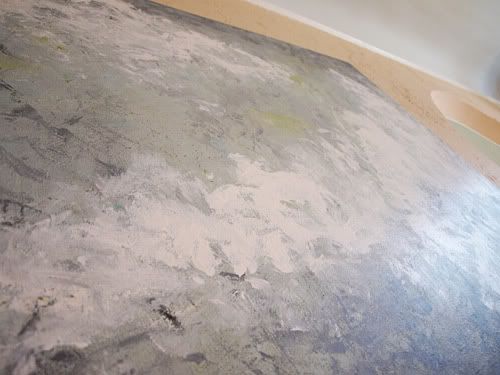
I'm liking the colors and the subtle textures and colors of my new painting.

Photobucket

The canvas is homemade. It's a wood frame with drop cloth stapled to it. Next you use primer or gesso to seal the cloth. Let it dry. Then it's ready to create your masterpiece! ha!

I just used leftover wall paint and dabbed in on with a rag. Old fashioned faux painting style!

Use lots of paint and lots of colors. The texture creates interest. I used a blue-gray color, a green gray color, a green, a turquoise, white and black in this painting.

Photobucket

Oh hang on, I gotta break up a fight.

Photobucket

Ok. I'm back. Isn't he pathetic? Sweet, but pathetic.

Detail shot.

Photobucket

Nice, right? Not hard. Give it a shot!

Photobucket

Photobucket

Linking to some of these super, duper DIY blog link parties.
Related Posts Plugin for WordPress, Blogger...